Inspiration & Advice
Composting 101: Turn waste into garden gold

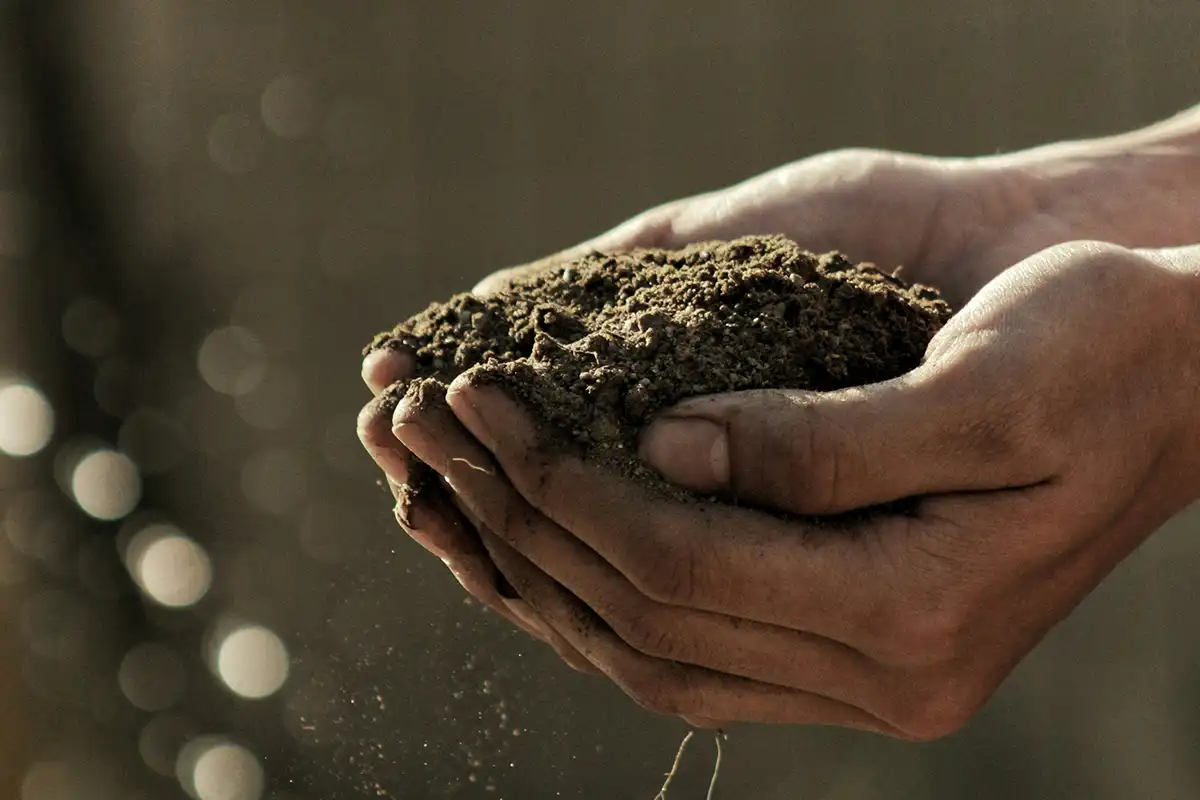
Compost, glorious compost! Your garden will definitely be asking for more.
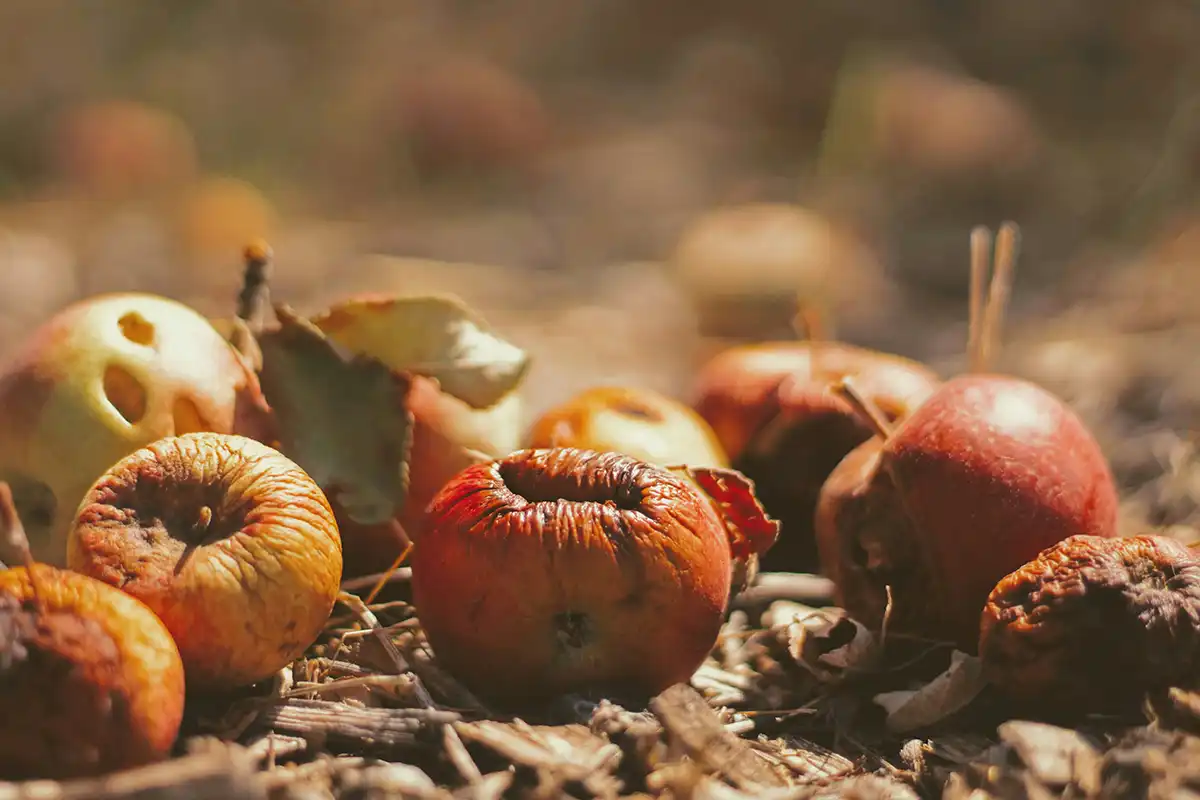
This dark, nutrient-rich material forms naturally as organic matter—like food scraps, yard waste and other biodegradable materials—breaks down with the help of bacteria, fungi and other teeny tiny organisms.
Once rotted and ready, you can use it to enrich your soil, boost water retention and help your plants and veggies thrive. It’s an awesome eco-friendly way to recycle organic waste and cut costs on pricey fertilisers.
Want to make your own garden gold? Jack’s got composting covered.
What to compost
First off, let’s talk about what you can compost. You can’t just throw anything into the mix. Only certain green and brown materials should be used.
Here’s a list of Jack-approved composting-friendly ingredients.
Green materials (nitrogen-rich)
These materials help speed up decomposition:
- Fruit and vegetable scraps
- Coffee grounds and filters (filters are brown, but the grounds are green)
- Tea leaves and paper tea bags (staple-free!)
- Grass clippings
- Manure from herbivores (cows, horses, chickens)
- Bread, pasta, and rice (small amounts)
- Cooked food without dairy, meat or oils
- Flowers (non-toxic, no pesticides)
Brown materials (carbon-rich)
These materials provide structure and help with aeration:
- Brown paper bags
- Uncoated paper napkins and towels
- Toilet paper rolls
- Cardboard egg cartons
- Wine corks (natural only)
- Shredded newspaper and cardboard (uncoated)
- Natural cotton and wool fabric scraps (without synthetic dyes)
Neutral or slow to decompose
- Crushed eggshells (mainly provide calcium)
- Sawdust from untreated wood (in small amounts)
- Small twigs and branches (chopped up)
- Nutshells (except walnut shells that can be toxic)
What not to compost
- Meat, fish and bones (attract pesky pests!)
- Dairy products (milk, cheese, yogurt)
- Oily and greasy food waste
- Pet waste from carnivores (dogs, cats—dog poo compost, yuck!)
- Diseased or pest-infested plants
- Weeds with seeds or invasive roots
- Large branches and logs (take too long to break down)
- Citrus peels and onion skins (in excess, can harm worms)
- Walnuts and walnut shells (contain juglone, toxic to plants)
- Plastic and synthetic materials (bags, wrappers)
- Glass, metal and aluminium foil
- Treated or painted wood
- Glossy/coated paper (magazines, receipts)
- Synthetic fabrics (polyester, nylon, etc.)
- Biodegradable plastics (many don’t break down properly)
- Vacuum cleaner dust (contains synthetic fibres)
- Dryer lint (if synthetic clothing is dried)
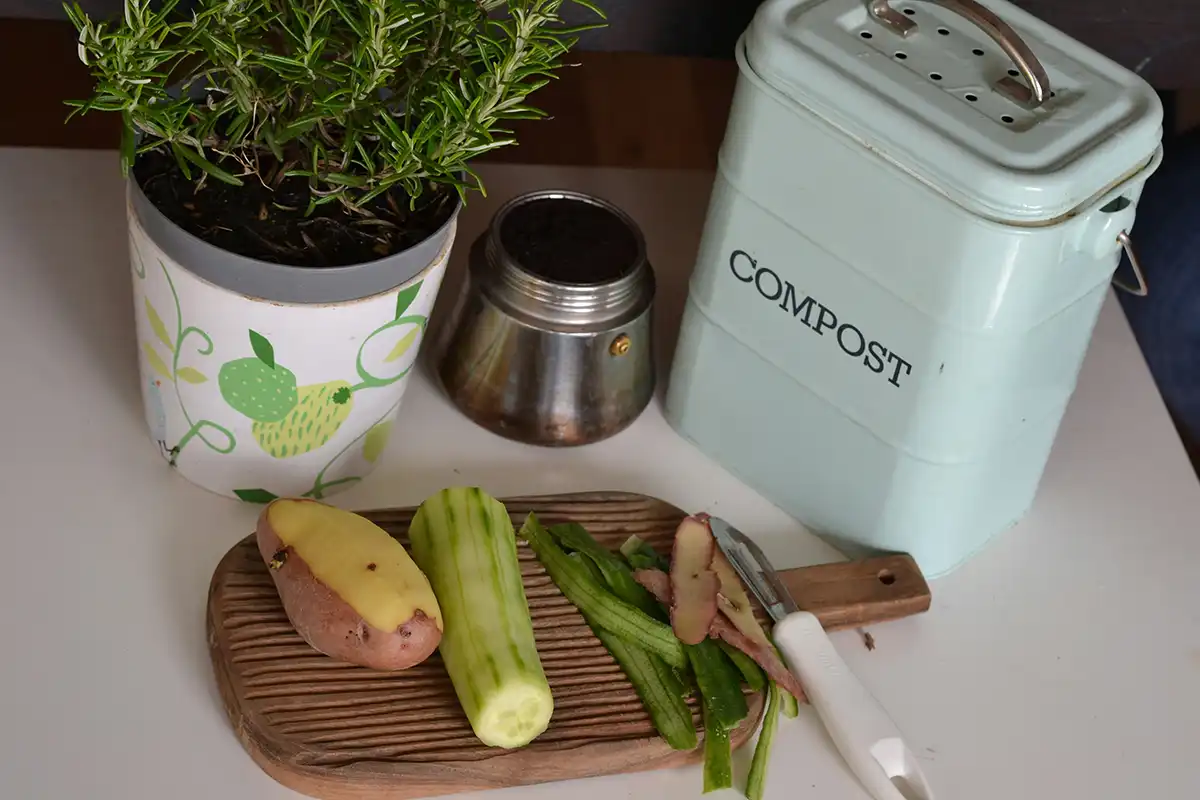
Start with a kitchen compost bin
Now you know what you should and shouldn’t compost, buy yourself a kitchen or benchtop compost bin (also known as kitchen or green waste caddies) to start collecting those fresh daily food scraps.
There are heaps to choose from in the shops and online. Check out places like Target, Amazon and Kitchen Warehouse to find one that suits your budget, colour scheme and vibe.
Alternatively, you can easily make one yourself for a few bucks. Simply drill five evenly spaced holes in the lid of a dry food container, then glue some nylon mesh or fly screen to the back of the holes. Easy peasy!
Pop your caddy in a cool, dry place near your food prep area, then line it with a layer of dirt topped with newspaper. Or buy some specially designed compostable bags to keep your bin clean and stink-free.
You’re now ready to start filling your compost with nutritious food waste! Be sure to empty your caddy every few days into either a compost pile or compost bin—the next key step in your composting setup.

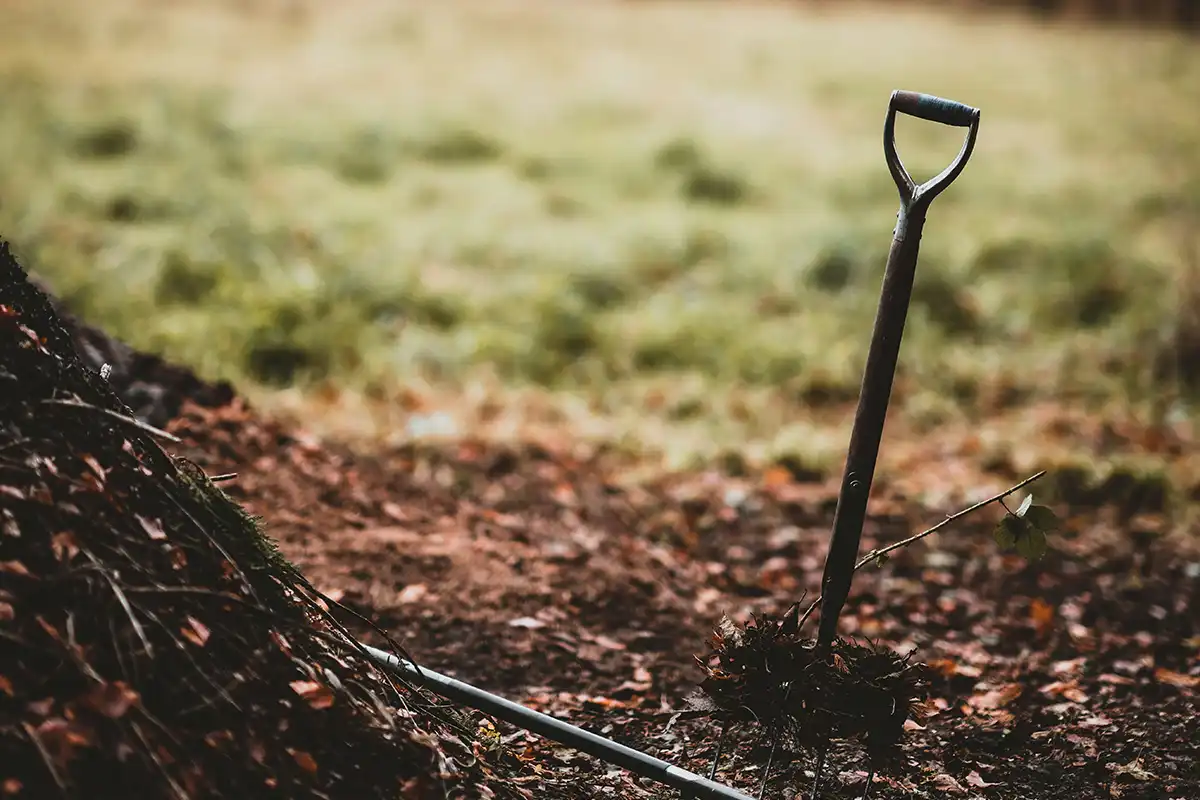
What is a composting heap?
A compost heap is exactly what it sounds like—an open-air pile of your green and brown waste right in your yard. It’s one of the most traditional and natural ways to turn everyday scraps into garden gold.
- Pros – Cheap and easy to set up, no special equipment needed, can compost lots of garden waste
- Cons – Slow to compost compared to bins, can attract pests, needs regular turning and monitoring
How to set up: Pick a level spot with good drainage and some shade. Start your pile by laying down coarse materials like twigs, straws or small branches to help with drainage then start layering your materials (green, then brown).
Maintenance: Add compost materials every 2-3 days and make sure you turn everything with a garden fork or shovel every 2-3 weeks. Keep it moist but not soggy, and check the temperature. Ideally, it should stay between 54-65°C for optimal composting action!
Time to compost: 3-6 months, depending on materials used and conditions.

What is a composting bin?
A garden composting bin is a container specifically designed to hold your organic waste while it rots. It’s a bit like a kitchen bin but with holes. There are lots of different types of outdoor composting bins to choose from.
Standard compost bins
A simple, stationary bin that’s ideal for general yard waste and kitchen scraps. They’re typically made from plastic or wood and have holes or slots to let air in.
- Pros – Easy to set up, low maintenance
- Cons – Slow to compost if not regularly turned—need airflow
How to set up: Choose a well-drained, easy-to-access and shady spot. Place a layer of coarse materials like twigs, straw or small branches at the bottom to help with drainage then start layering your materials (green, then brown).
Maintenance: Add fresh materials to your compost every 2-3 days, and turn the heap every 2-3 weeks to keep the process moving. Keep it moist—not soaking wet—and monitor the temperature. Aim for a range of 54-65°C for the best results.
Time to compost: 3-6 months, depending on materials used and conditions.
Bokashi bins
These seal-tight bins use microorganism fermentation rather than decomposition to break down food scraps and include a tap at the bottom for draining.
- Pros – Composts meat and dairy, compact, low maintenance
- Cons – Needs a fermenting agent (bokashi bran), waste needs to be buried in soil after fermentation
How to set up: Place your bokashi bin in a cool spot, such as your kitchen or garage. Add food scraps, sprinkle a layer of bokashi bran over each one, press down to eliminate air pockets, and close the lid tightly to start the fermentation process.
Maintenance: Add bokashi flakes each time you add food scraps, and drain the liquid every 2-3 days. This helps prevent stinky odours and keeps the fermentation process running smoothly.
Time to compost: Fermentation using takes about 2-3 weeks. In the meantime, you can use the liquid you drain from the bin as liquid fertiliser.
Batch composters
A batch composting bin is designed to be a set-it-and-forget-it option. It’s called batch as you compost in ‘batches’ rather than continuously adding new waste.
- Pros – Great for large amounts of waste
- Cons – Slower process, needs careful set up—a good balance of green and brown materials
How to set up: Put your batch composter in a sunny, well-drained spot. Layer brown and green materials into the bin and leave it to process for a set time. Start a new batch once the first has finished.
Maintenance: No maintenance needed!
Time to compost: Approx. 1-2 months.
Tumbling composters
A tumbling composter is a rotating bin on a stand. It has a handle that allows you to easily turn your composting materials to keep them well mixed.
- Pros – Faster process due to better airflow, less manual effort
- Cons – Smaller capacity, can be difficult to keep balanced
How to set up: Place your tumbling composter in a well-ventilated spot with space to spin. Fill with organic materials, starting with a layer of coarse material and alternate layers of green and brown waste. Add matter every 2-3 days.
Maintenance: Give it a tumble every 2-3 days to air out your materials and keep everything moist. Check the temperature sticks between 54-65°C.
Time to compost: About 4-5 weeks.
Worm composters
Worm composter bins house worms (typically red wigglers) that feed on your organic matter, breaking it down into rich worm castings.
- Pros – Great for small spaces and patios, high-quality compost, less smell
- Cons – Need constant worm-friendly conditions (temperature, moisture), only process a small amount of kitchen scraps
How to set up: Place your worm composter in a cool, dark area. Add a layer of bedding material (like shredded newspaper or cardboard) at the bottom. Introduce your red wrigglers, add your organic scraps, and then cover with more bedding. Worms love the dark!
Maintenance: Top up with fresh scraps once a week—don’t overload. Keep the bin moist and fluff the bedding so it never gets too compacted, which isn’t good for your little worms.
Time to compost: Usually takes 2-3 months to produce finished compost.
Using your composted goodness
Now you’re all set up to compost, let’s talk about putting that recycled goodness to good use! As a general rule, anywhere things grow, fresh compost can go:
- Gardens beds, including vegie gardens – Loosen the soil, remove any weeds, and then spread a layer of your homemade compost on top. Mix it into the soil with a fork (take care not to damage existing plants and roots) then water thoroughly to activate the process!
- Raised beds, containers and pots – Mix compost with your chosen potting soil before filling your pots and planters. If you’re using a raised bed, add a layer of compost first. Already planted? Put a layer of compost on top, and then gently mix your organic goodness in before watering.
- Garden lawn – Spread a thin layer of compost on your lawn to improve soil health and help it thrive.
You can also create compost tea by soaking your compost in water for a few days. Simply drain, then feed it to your plants, herbs and vegies for a nutrient-rich sip!
See also:
How to use Grip & Grow to produce impressive eggplants
Sow, grow, harvest: Top vegetable to plant in spring
Winter gardening tips – what to do and what to grow
How to build a garden trellis to support climbing plants
Run out of space to sprinkle that organic goodness? Head to your nearest local supplier to pick up some Jack landscaping products—like raised beds, pots, planters and vegie trellises—to start growing your gorgeous garden!

Not just a gardening task
Composting isn’t just a gardening task—it’s a sustainable lifestyle choice. It’s a simple yet powerful way to reduce waste, enrich your garden and help the planet by transforming your scraps into soil gold.
Gone composting crazy? Why not share some snaps on socials, tagging @meetdiyjack? We’d love to see your natural recycling efforts in action.